Add Product Photos to QR Menus Without a Photographer
Learn practical tips to capture stunning food photos for your digital QR menu using just your smartphone. Boost sales and reduce waste with upQR.
Why Food Photography Matters for Your Digital Menu
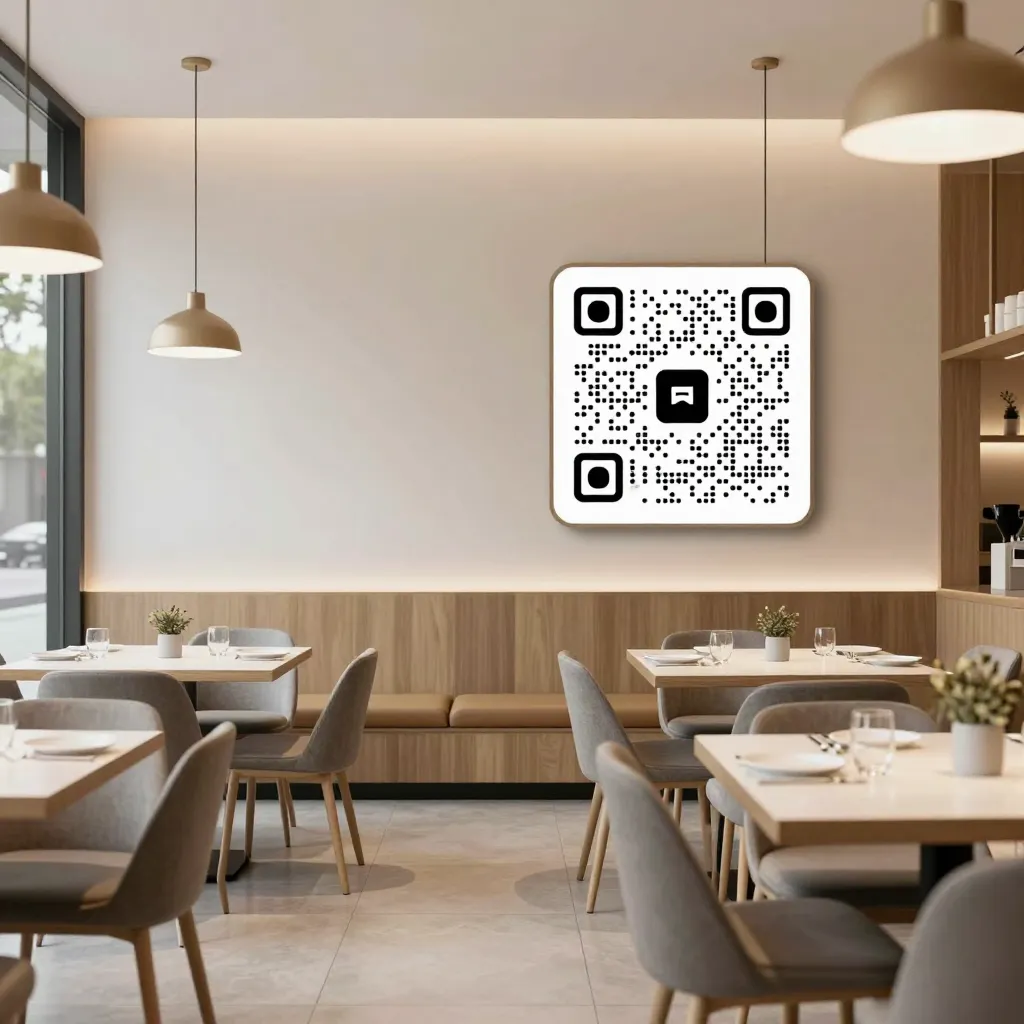
When a customer scans a QR code to view your menu, their first decision point is visual. Studies show that 80% of food purchasing decisions are made based on color and visual appeal. In the digital realm, a high-quality photo acts as a silent salesman, instantly communicating the quality and freshness of your ingredients. Without professional photography, many restaurant owners hesitate to use digital menus, fearing their images will look amateurish compared to competitors.
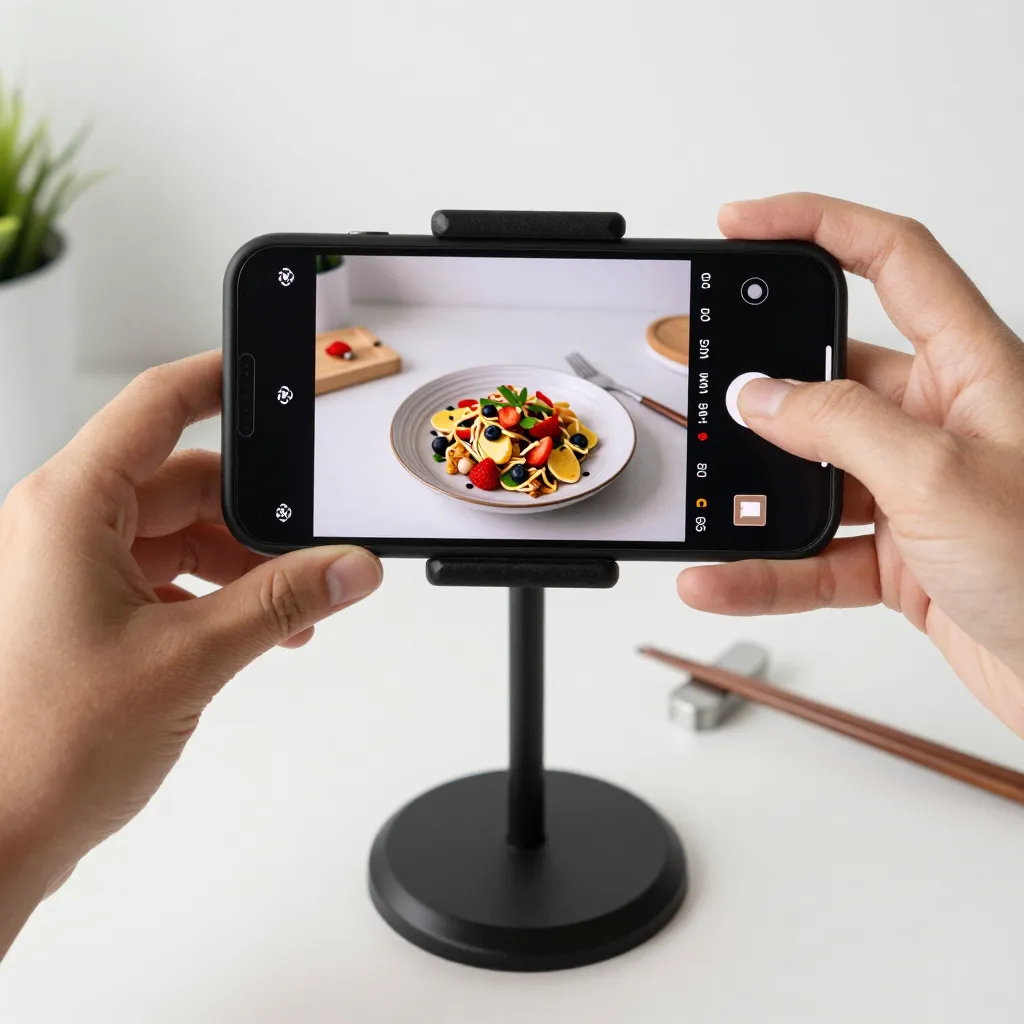
However, the digital landscape has leveled the playing field. You no longer need a $5,000 camera or a team of professionals to create compelling visuals. The rise of high-resolution smartphone cameras means that with the right technique, you can capture images that look professional and appetizing. For a digital QR menu platform like upQR, these images are not just decorations; they are critical tools for transparency and accessibility. When customers can clearly see the ingredients and the final dish, they feel more confident in their choices, reducing the anxiety associated with ordering unfamiliar items.
Mastering Lighting: The Secret to Appetizing Images
The single most important factor in food photography is lighting. Poor lighting can make even the freshest ingredients look dull or unappetizing. The golden rule of food photography is to avoid direct, harsh sunlight, which creates harsh shadows and blown-out highlights. Instead, seek out soft, diffused natural light. This often means shooting near a large window on a cloudy day or in the early morning and late afternoon hours.
If you must shoot indoors, position your dish near a window but avoid placing the camera directly in front of the glass to prevent reflections. If your kitchen is dark, do not rely on your phone's flash, as it creates an unflattering, greenish tint and harsh shadows. Instead, use a simple ring light or a softbox if you have one, but for most restaurant owners, a well-lit window is sufficient. Remember, you want to highlight the textures of the foodthe steam rising from soup, the crispness of a salad, or the gloss of a sauce. These details are best captured when the light is soft and even, allowing the camera sensor to capture subtle color variations without losing detail in the highlights or shadows.
Composition Techniques That Make Your Food Pop
Once you have good lighting, you need to frame your shot correctly. The rule of thirds is a fundamental concept in photography that applies perfectly to food. Imagine a grid overlaying your screen, dividing the image into nine equal parts. Place the main subject of your dish, such as a burger or a bowl of pasta, along one of the vertical or horizontal lines, rather than dead center. This creates a more dynamic and interesting composition that draws the viewer's eye naturally.
Another crucial technique is to ensure your dish fills the frame. Avoid shooting from too far away, which forces the camera to zoom out and include too much empty table space or background clutter. Instead, get close enough so that the food takes up about 80% of the image. This technique, known as a macro shot, allows the viewer to appreciate the details of the ingredients. If you are photographing a plate with multiple components, like a taco with lettuce and cheese, angle the shot so that the ingredients are layered, creating depth rather than a flat, two-dimensional look.
Keep your background simple and uncluttered. A busy kitchen background or a messy table can distract the customer from the food. A clean white tablecloth, a neutral wooden board, or a simple dark surface can work wonders to make the colors of the food pop. If your restaurant has a beautiful interior, try to capture the ambiance in a separate shot to use as a secondary image, but keep the main product shots focused solely on the dish to maintain clarity and professionalism.
Styling Your Dishes for the Camera
Before you even lift your phone, take a moment to style the dish. Food photography is as much about styling as it is about technical skill. Ensure your plating is impeccable, as the camera will reveal any imperfections. Use fresh herbs to add a pop of green, arrange garnishes intentionally rather than randomly, and wipe away any stray crumbs or sauces that might look messy in the photo.
Consider the context. If you are photographing a cocktail, include a garnish like a lemon twist or an olive. If you are shooting a burger, perhaps add a side of fries or a pickle spear to the side of the plate. These elements add context and make the dish look complete and ready to eat. However, be careful not to overstuff the frame. Too many props can make the image look cluttered and cheap. The goal is to enhance the natural beauty of the food, not to hide it behind unnecessary accessories.
Timing is also essential. Food photography requires speed. Ingredients can wilt, sauces can separate, and steam can dissipate in seconds. Have your camera ready and your phone on a stable surface before you plate the dish. Use a timer on your phone or a remote shutter app to avoid smudging the food with your fingers while trying to take the perfect shot. This preparation ensures that every image you upload to your upQR menu is fresh, vibrant, and appetizing.
Editing and Optimizing for Digital Display
Once you have captured your images, the next step is editing. You do not need expensive software; free apps like Snapseed or VSCO can provide professional results. The goal of editing is to correct exposure, balance colors, and enhance contrast, not to make the food look fake. Avoid over-saturating the colors, as this can make the food look artificial and untrustworthy. Instead, aim for a natural look that accurately represents what the customer will receive.
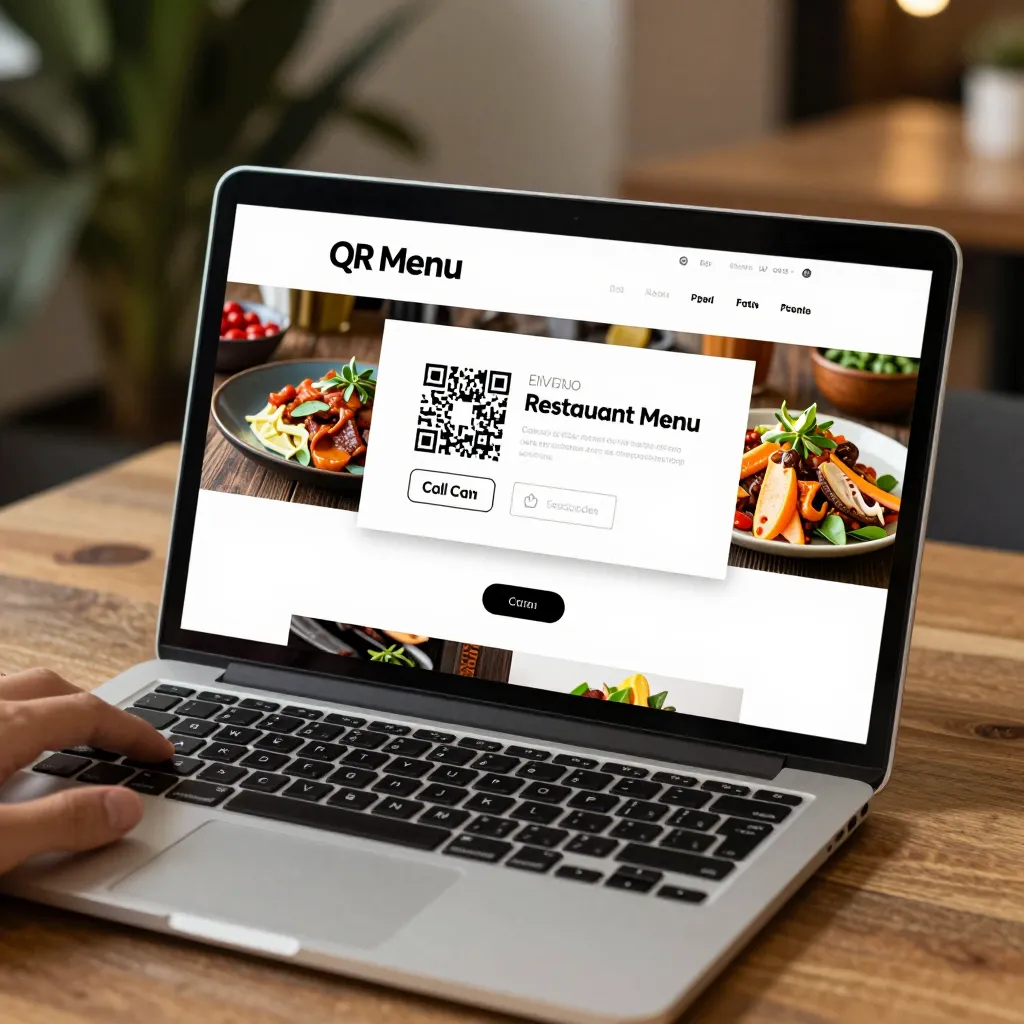
When optimizing for a digital QR menu, consider the resolution and file size. Digital menus load quickly on mobile devices, so large, uncompressed images can slow down the browsing experience. Most platforms, including upQR, recommend images that are at least 1080 pixels wide but optimized for web use. Resize your images to this standard to ensure fast loading times without sacrificing quality. Also, ensure that the text on any labels or prices within the image is legible on a small screen. If you include pricing in the photo, make sure the font is clear and large enough to be read on a smartphone.
Consistency is key. Use a similar editing style for all your menu items. This creates a cohesive visual identity for your restaurant. If you use warm tones for some dishes and cool tones for others, it can look disjointed and unprofessional. Establish a workflow where you take a few reference shots at the beginning of your shift to set your camera settings and editing style, then stick to that standard for all subsequent photos. This efficiency allows you to focus on the food and your service rather than worrying about technical details.
Building a Sustainable and Transparent Menu
Adding high-quality photos to your digital menu is not just about aesthetics; it is about supporting your core values of sustainability and transparency. By eliminating paper menus, you reduce waste and your environmental footprint. Digital menus allow you to update images instantly, ensuring that customers always see the current season's offerings or new menu items. This agility is crucial in a fast-paced industry where ingredients change frequently.
Furthermore, honest photography builds trust. When you show the food exactly as it is, with all its natural imperfections and vibrant colors, you signal to the customer that you have nothing to hide. This transparency extends to the ingredients. If you use locally sourced produce, you can highlight this in your image descriptions or captions, reinforcing your commitment to sustainability. Customers today are increasingly conscious of where their food comes from and how it is prepared. By providing clear, accurate visuals, you empower them to make informed choices that align with their values.
Ultimately, the ability to create professional-looking photos without a photographer empowers you to tell your brand's story effectively. Whether you are a bustling cafe or a fine dining establishment, your digital menu is your first impression. With the right lighting, composition, and styling, you can create images that not only look professional but also reflect the integrity and quality of your food. Embrace the power of your smartphone, and let your menu speak for itself with clarity and honesty.
Related Posts

Ready to create your digital menu?
Create your QR menu in minutes and reach your customers in any language.