Restaurant Menu Photography Tips for Stunning Digital Menus
Transform your digital menu with pro photography tips. Learn lighting, angles, and styling secrets to boost orders and reduce costs.
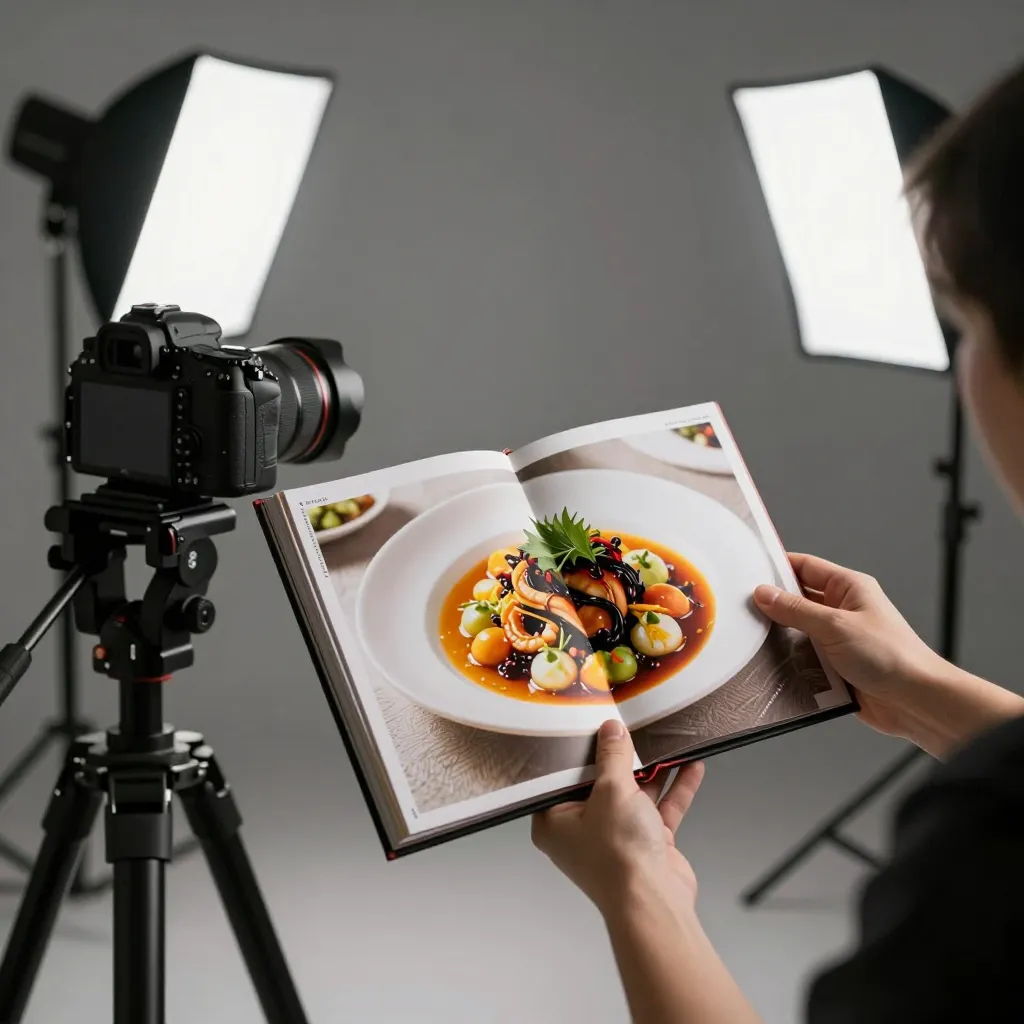
Why High-Quality Food Photos Matter for Your Digital Menu
In the competitive landscape of modern dining, your menu is often the first point of contact between your brand and a potential customer. When a guest scans a QR code to view your digital menu, they are making split-second decisions based on visual appeal. Studies indicate that food photography can increase menu item sales by up to 30% compared to text-only or low-quality image menus. For restaurants and cafes, the visual presentation is not just an aesthetic choice; it is a critical marketing tool that directly influences revenue.
Consider the psychology of the dining experience. Customers often order what they see. If the photos in your digital menu are blurry, dim, or lack color accuracy, you risk undermining the perceived quality of your ingredients and preparation. Conversely, stunning, high-resolution images can elevate the perceived value of your dishes, allowing you to potentially charge premium prices or move inventory faster. In the era of social media, where diners frequently share their meals online, your menu photos serve as free advertising. A guest taking a photo of your food to post on Instagram or TikTok is essentially a brand ambassador, and the quality of that photo starts with the images you provide on your digital menu.
Furthermore, digital menus offer unique advantages over printed ones. You can update images seasonally, feature daily specials with fresh photography, and A/B test different images to see which ones drive higher conversion rates. However, this flexibility requires a consistent standard of quality. Uploading a random collection of phone snapshots from various staff members can look unprofessional and dilute your brand identity. To maintain a cohesive look that builds trust and excitement, you need a deliberate approach to food photography that ensures every image on your upQR digital menu meets a high standard of excellence.
Mastering Lighting: The Secret to Appetizing Images
Lighting is the single most important factor in food photography. Poor lighting can make even the most delicious dish look unappetizing, while excellent lighting can make simple ingredients look gourmet. The goal is to create an image that looks as appetizing as the food tastes, which often means avoiding harsh, direct flash that creates unflattering shadows and washes out colors.
Natural light is your best friend for food photography. Position your dishes near a large window during the day, but be careful not to place them in direct sunlight, which can cause hotspots and blown-out highlights. Instead, use indirect natural light or diffuse it through a sheer curtain. This soft, even light renders colors accurately and brings out the textures of your food, from the flakiness of a crust to the gloss of a sauce. If you are shooting in the evening or in areas with limited natural light, invest in affordable continuous LED panels with a color temperature of 5500K to mimic daylight. Avoid using your phone's built-in flash, as it creates a flat, greenish cast and harsh reflections on glossy plates.
Understanding how light interacts with different food types is crucial. For example, when photographing a creamy soup or a smoothie, use a polarizing filter on your lens or your phone's camera settings to reduce surface glare, allowing you to see the texture of the liquid. For dry goods like bread or pasta, side lighting can emphasize the crumb structure and crust. Always aim for a key light that highlights the main focal point of the dish, perhaps the garnish or the center of the plate, while using fill light to soften shadows without eliminating them entirely. This balance creates depth and dimension, making the food look three-dimensional and inviting rather than flat and two-dimensional.
Composition and Angles: Framing Your Best Shots
Once you have mastered lighting, you must focus on composition and angle. The angle you choose depends heavily on the type of dish you are photographing. The overhead shot, often called the "flat lay," is excellent for showcasing platters, pizzas, or dishes where you want to show off the arrangement of ingredients. However, for tall dishes like burgers, tall pasta bowls, or layered desserts, a 45-degree angle or a slightly elevated side angle is generally more effective. This perspective mimics the human eye looking down at a table, creating a more relatable and immersive experience for the viewer.
When composing your shot, apply the rule of thirds. Imagine a grid overlaying your image; place the main subject along one of the lines or at the intersection points rather than dead center. This creates a more dynamic and engaging image. Leave negative space around the food, which is essential for digital menus where you might add text overlays, prices, or descriptions. A cluttered frame can overwhelm the viewer and make the dish look messy. Ensure the background is simple and unobtrusive. A solid-colored tablecloth, a blurred wooden surface, or a clean countertop works best. Avoid busy patterns that distract from the food.
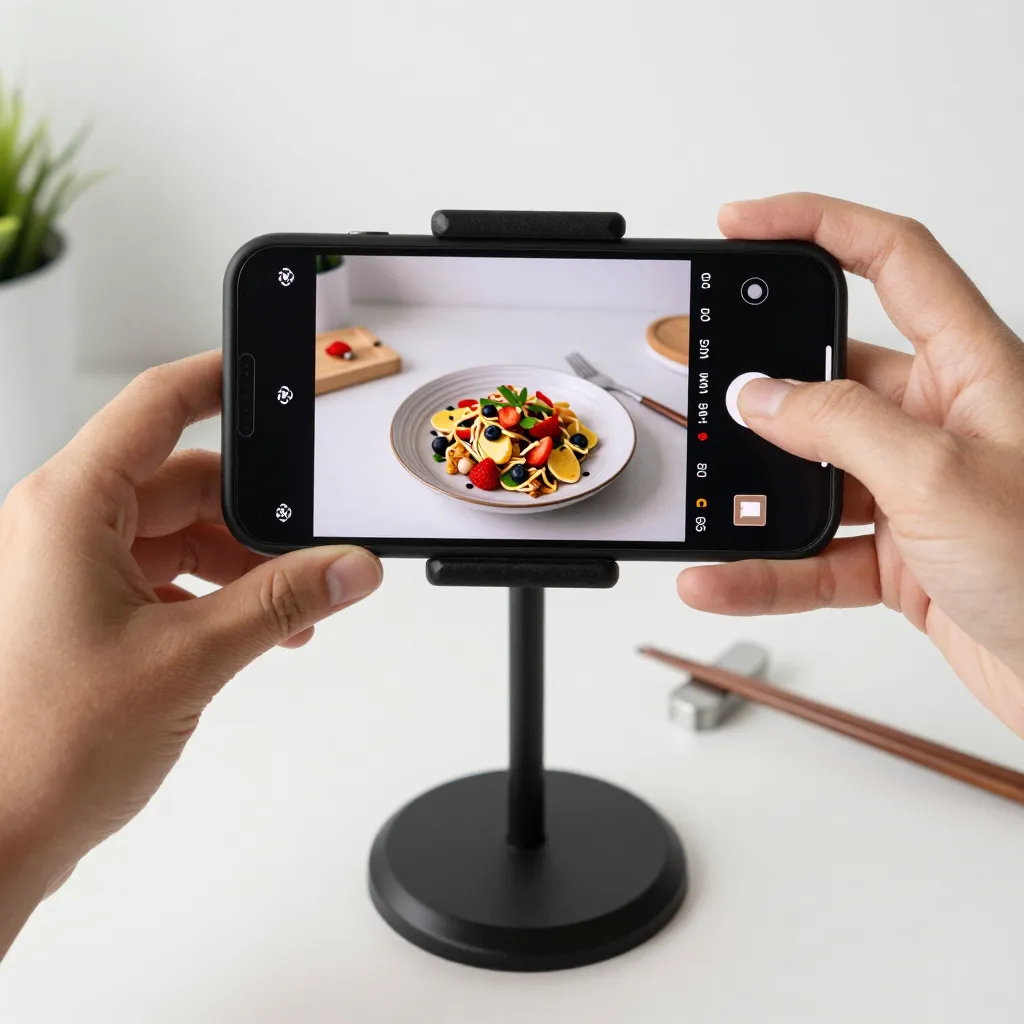
Depth of field is another technical aspect to consider. Using a wider aperture (lower f-number) on your camera or phone can blur the background, drawing the viewer's eye directly to the sharpest part of your dish. This technique isolates the subject and adds a professional polish to the image. However, be cautious not to blur the food itself; the key details, like the steam rising from a hot dish or the texture of a garnish, must remain in focus. Practice these techniques with your current equipment, as you do not need a professional DSLR to create stunning images. Many modern smartphones offer computational photography features that can automatically optimize exposure and focus, provided you take the time to frame the shot correctly and hold the device steady.
Styling and Props: Setting the Scene Without Clutter
While the food is the star of the show, the right styling and props can set the scene and tell a story about your restaurant's vibe. The goal is to enhance the dish, not to compete with it. Choose props that reflect your brand aesthetic. If your cafe has a rustic, farm-to-table theme, use wooden boards, linen napkins, and fresh herbs as props. For a modern, minimalist bistro, sleek ceramic plates, stainless steel cutlery, and simple glassware are more appropriate. Always ensure that props are clean and in good condition; a chipped bowl or a wrinkled napkin can subconsciously signal a lack of attention to detail.
Food styling involves making small adjustments to the dish before photographing it to make it look its absolute best. This might include wiping away any stray crumbs, adjusting the angle of a piece of lettuce, or adding a final garnish just before the shot. For hot dishes, you can use a steamer to create artificial steam, which adds a sense of warmth and freshness to the image. Be mindful of the time between plating and shooting; food dries out and loses its color quickly. Work efficiently to capture the dish at its peak visual state.
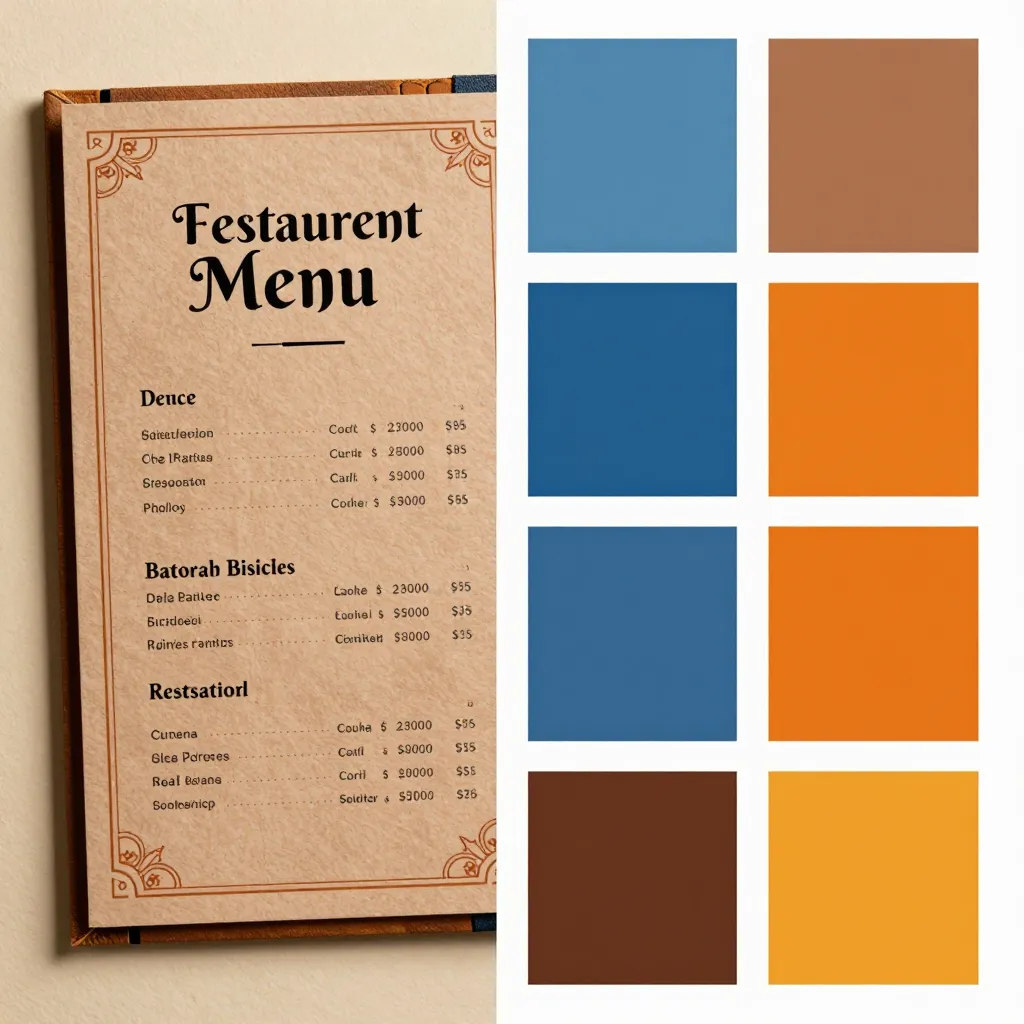
Color coordination is also vital. The colors of your props and table setting should complement the colors of the food without clashing. For instance, green herbs pair beautifully with red meats or yellow vegetables, creating a vibrant contrast. Avoid using props with colors that are too similar to the food, as this can make the image look muddy. Always review your images on a calibrated screen to ensure the colors look accurate and appetizing. Remember that the final image will be viewed on various devices with different screens, so aim for a balanced color palette that translates well across all platforms.
Workflow and Consistency: Maintaining Your Digital Menu Quality
One of the biggest challenges for restaurant owners and managers is maintaining consistency across a large menu with dozens of items. It is easy to end up with a mix of professional shots and amateur snapshots if no system is in place. To solve this, establish a standard operating procedure (SOP) for your kitchen and front-of-house staff. Designate one or two team members responsible for taking photos, or partner with a freelance food photographer who can shoot your entire menu on a quarterly or seasonal basis. Create a style guide that outlines your preferred angles, lighting conditions, and styling rules. This guide ensures that every new item added to your upQR digital menu adheres to your brand standards.
Organization is key to managing your digital menu assets. Use a dedicated folder structure on your computer or cloud storage to categorize images by category (e.g., Appetizers, Mains, Desserts) and by date. Before uploading images to your digital menu platform, review them for technical quality. Check for sharpness, correct exposure, and color accuracy. Crop and resize images according to the specifications required by your QR menu software to ensure they load quickly and look crisp on mobile devices. Slow-loading images can frustrate customers and cause them to abandon your menu, so optimize file sizes without sacrificing quality.
Regularly audit your menu images. As trends change and seasons shift, your menu might need a refresh. Replace outdated photos with new ones that reflect current offerings or updated branding. Encourage your staff to provide feedback on the images they take, fostering a culture of quality improvement. By investing time and effort into a consistent, high-quality photography workflow, you create a digital menu that not only looks professional but also effectively communicates the value and quality of your culinary offerings. This attention to detail is what separates a memorable dining experience from a forgettable one, ultimately driving customer loyalty and repeat visits.
Leveraging Technology and UpQR for Digital Excellence
While the fundamentals of food photography remain rooted in light, composition, and styling, technology plays a growing role in streamlining the process. Cloud-based asset management tools allow you to collaborate with photographers and staff from anywhere, making it easier to review and approve images before they go live. Some digital menu platforms offer built-in editing tools that can help standardize image brightness and contrast, though these should not replace the need for high-quality source files. The platform you choose for your digital menu should support high-resolution image uploads and offer a responsive design that ensures your photos look great on both desktop and mobile screens.
When selecting a digital menu solution, look for features that enhance the visual experience. Platforms like upQR are designed specifically for the needs of restaurants and cafes, offering intuitive interfaces for managing menus and uploading high-quality content. With upQR, you can easily update your menu images in real-time, ensuring that what customers see on their phones matches exactly what is on your pass or your current offerings. The platform's mobile-responsive design guarantees that your stunning photography is displayed clearly regardless of the device your customers are using to scan the QR code.
Ultimately, the goal is to create a seamless digital experience that complements your physical dining environment. High-quality photography on your digital menu sets the stage for a positive first impression, which can be the deciding factor in whether a customer chooses your restaurant over a competitor. By implementing the tips discussed heremastering lighting, perfecting composition, styling with care, and maintaining a consistent workflowyou can transform your digital menu into a powerful sales tool. Whether you are a busy cafe manager looking to streamline your workflow or a restaurant owner aiming to elevate your brand, the right combination of photographic skills and the right technology, such as upQR, will help you achieve stunning results that drive growth and satisfaction for your business.
Related Posts
Ready to create your digital menu?
Create your QR menu in minutes and reach your customers in any language.
